
Excel Essentials: Adding Images to a Spreadsheet
Excel has many tools to help you master the look and feel of your spreadsheet. One feature it offers is the ability to add images to your spreadsheet. It can be an object from clip art, an original photo, downloaded images – as long as it’s in an image file, you can add it to Excel.
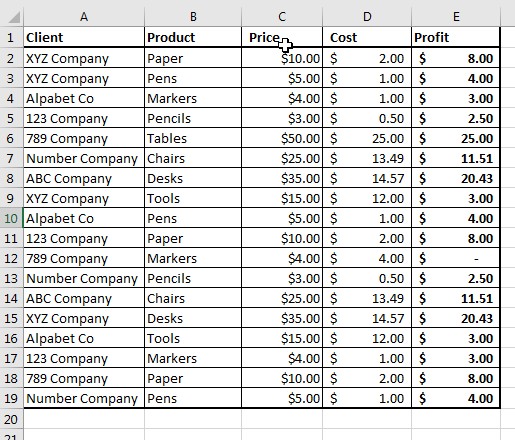
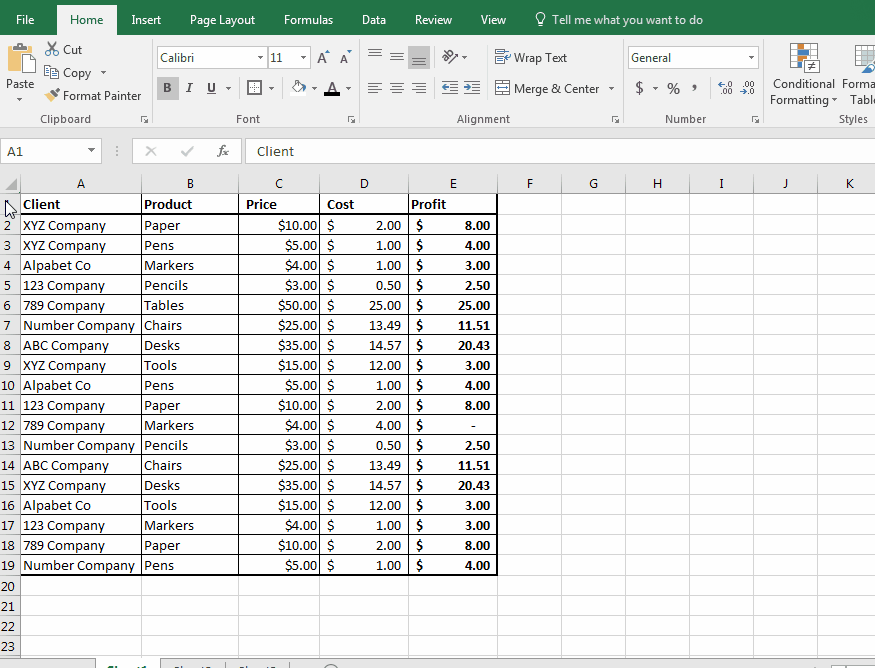
Let’s say you were putting together a sales report to send out to potential vendors. You are working with the following spreadsheet:
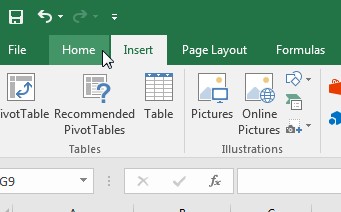
Now, your boss tells you he wants to add the company logo to the spreadsheet to give it a more polished and professional look. This is the process for adding the company logo:
- Step 1: Prep your spreadsheet for the added image
- Step 2: Go to the “Insert Ribbon”
- Step 3: Click on the icon for ‘Pictures’
- Step 4: Select the image you want to use in the dialogue box
- Step 5: Click OK
- Step 6: Using the Drag options on the image, resize to preferred size
- Step 7: Double check to make sure it looks good.
You are now done with adding the company logo. Adding images to your spreadsheets can add value, relevance or just make them more fun.
We at Learn Excel Now hope you now feel confident adding images to Excel and formatting them to make your spreadsheets look great.
Like Learn Excel Now? Follow us on social media and share our content with your networks! And don’t forget to sign up for the Newsletter
Kevin – Learn Excel Now